
As we all know, Windows 10 free upgrade is available to everyone, and many of you might have already installed windows 10 on your computer. Therefore, today we bought you some best windows 10 security tips you should implement on your PC to secure your personal data in the operating system.
In Windows 10, various implementations like biometric security can compromise your data, too, by spoofing. And that is why a new feature has been introduced, Anti-Spoofing Security.
Ways to Enable Enhanced Anti-Spoofing in Windows 10
This is the implementation that helps you to secure your data and account details from being spoofed. And for that, you need to follow some simple guidelines we discussed below.
Note: This implementation will only work on the device that supports the anti-spoofing technology.
Enable Enhanced Anti-Spoofing Using the Registry Settings
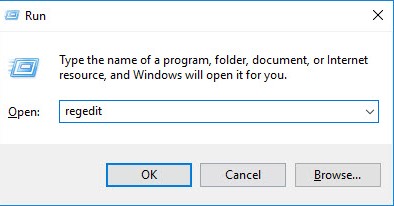
1. First, press Win + R. Next, type regedit, and then press enter.
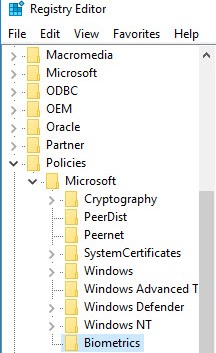
2. Now, the registry editor will open, and you need to navigate to this folder: HKEY_LOCAL_MACHINE\SOFTWARE\Policies\Microsoft\Biometrics\.
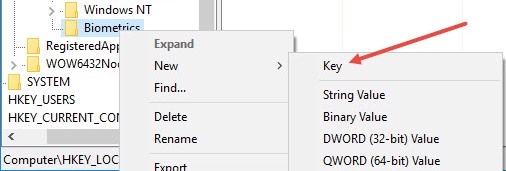
3. Now, right-click on the “Biometrics” key and then select “New” and then “Key” to create a new registry sub-key, and then simply name that key as FacialFeatures.
4. Now you need to right-click on the right empty space and then there select “New” and then select “DWORD (32-bit) Value.”
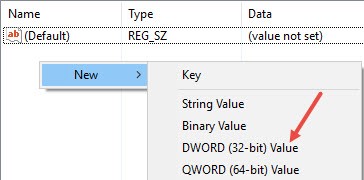
5. Now rename that file to the name EnhancedAntiSpoofing.
6. Now, double-click on that value, and then you will see that by default, its value is 0. You need to change it to 1 and click on the Ok button.

That’s it. You are done! Now the enhanced anti-spoofing feature will be enabled.
Enable Enhanced Anti-Spoofing Using Group Policies
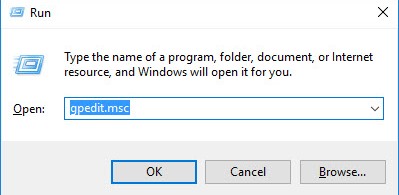
1. First of all, press the keys Win + R and then type gpedit.msc and then press enter.
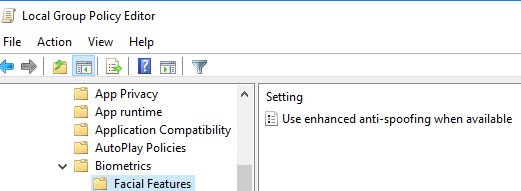
2. You need to navigate to the folder Computer Configuration -> Administrative Templates > Windows Components > Biometrics > Facial features.
3. You need to double-click on the policy “Use enhanced anti-spoofing when available” on the right panel.
4. Now, when the dialog box appears, you need to click the radio button to enable it and then click on the save option.
That’s it. You are done. If you ever want to revert back, select the option “Disabled” radio button or “Not Configured.”
So above discussion is all about how to enable enhanced anti-spoofing in Windows 10. If you need more help enabling the enhanced anti-spoofing on Windows, let us know in the comments. Also, if the article helped you, share it with your friends.


")