
If you have been using Windows operating system for a while, then you might know about the Guest accounts. On the Windows operating system, you can easily create a guest account and give limited access to other PC users.
There’s no limitation on creating guest accounts. Before Windows 10, creating guest accounts used to be an easy process, however, things have changed now, and now creating a guest account on Windows 10 can be confusing.
So, in this article, we are going to share some of the best methods that would help you to create a guest account on a Windows 10 computer. So, let’s check out the best methods to create a guest account on Windows 10 operating system.
Steps to Create a Guest Account in Windows 10 & 11
Because of the change of default interface, users might find the process a little tough. However, you can create a guest account in your Windows 10 by just following some simple steps that we are discussing below.
Using User Accounts Option
The easiest and straightforward method to create a guest account is by using the user account panel. Follow some of the simple steps given below to create a guest account on a Windows 10 computer.
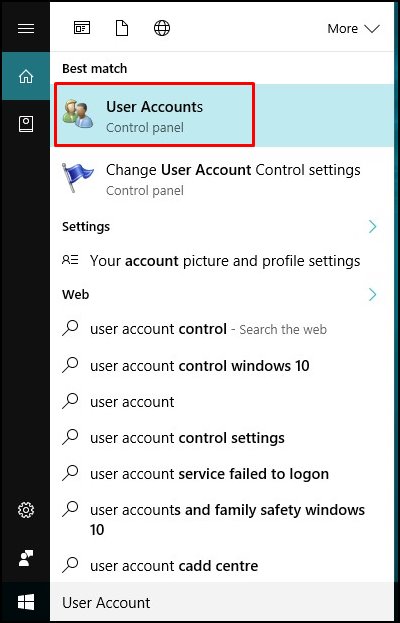
Step 1. First of all click on the start button and then type user and then you will see User Accounts there and simply click on it.
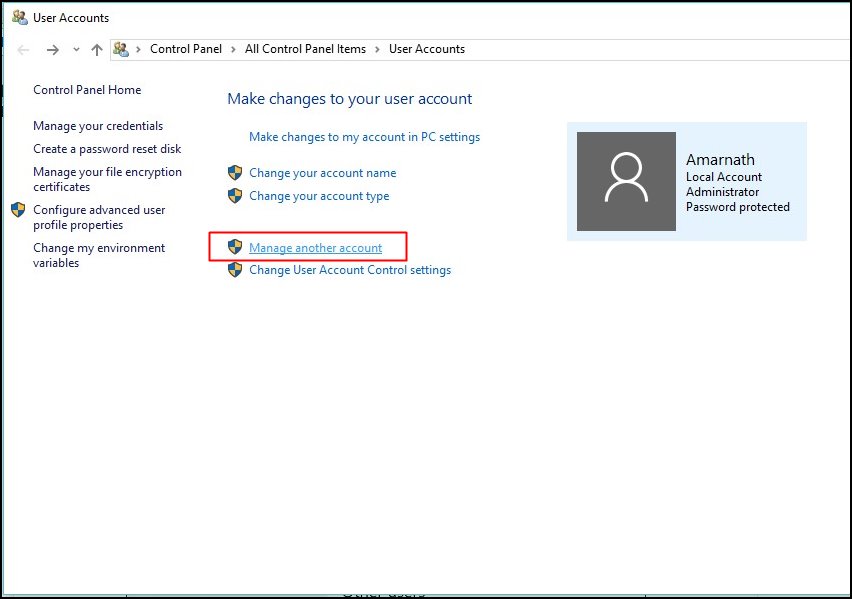
Step 2. Now click on Manage another account there under the Make changes to user account section.
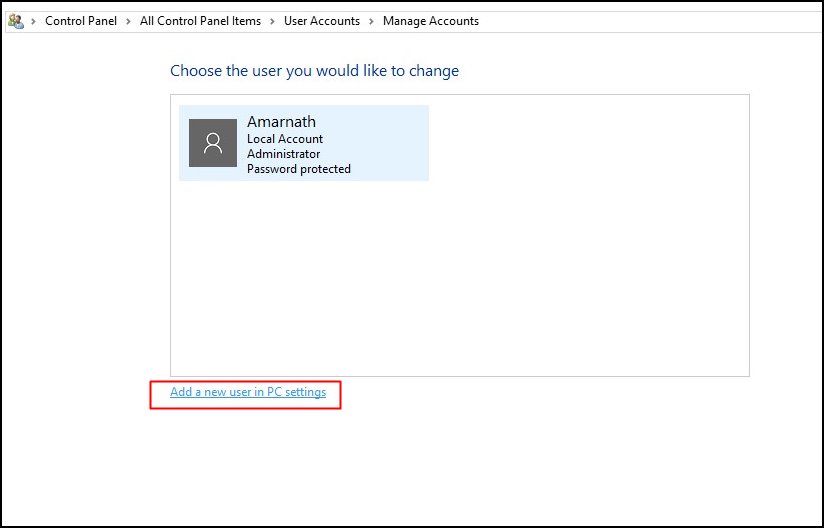
Step 3. Now you need to select the option Add a New User in PC Settings.
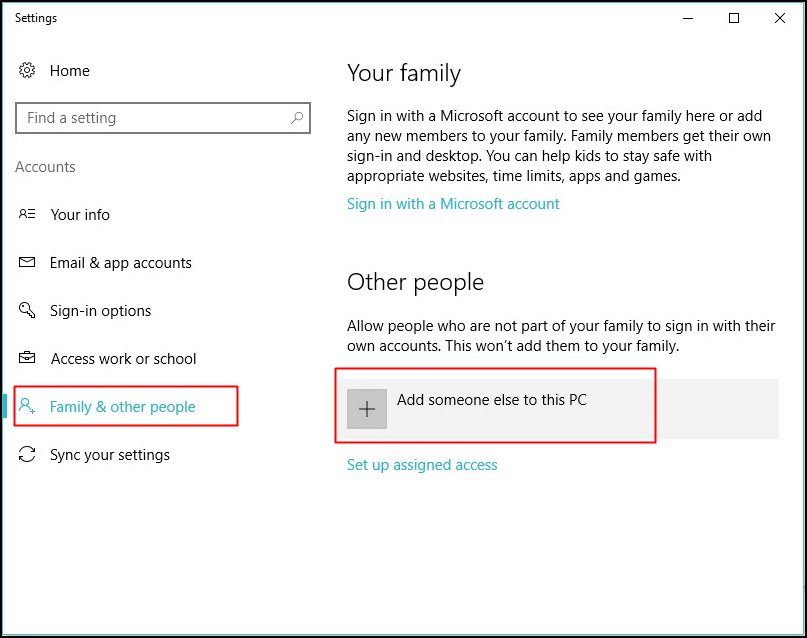
Step 4. Now you just need to click on the ‘Family and Other users’ section there and in front of it select ‘Add someone else to this PC.’
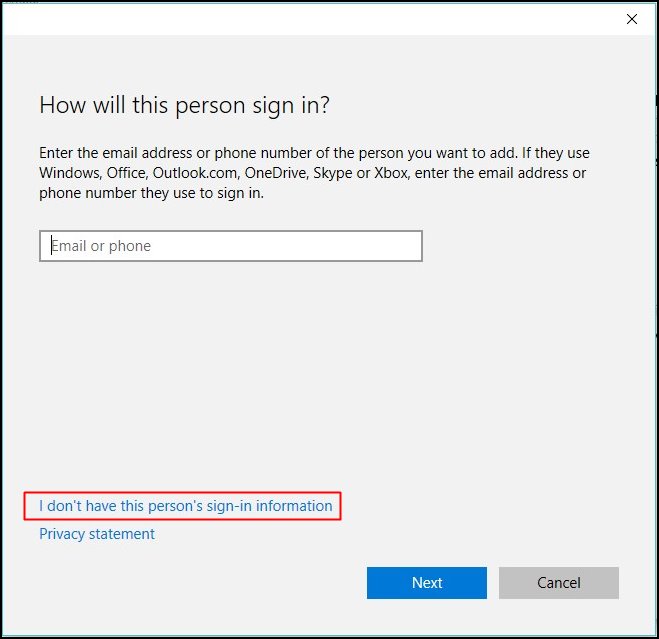
Step 5. Now Windows will ask you the email address of the person that you want to add to your PC and there is no need for that so just click on “I don’t have this person’s sign-in information”
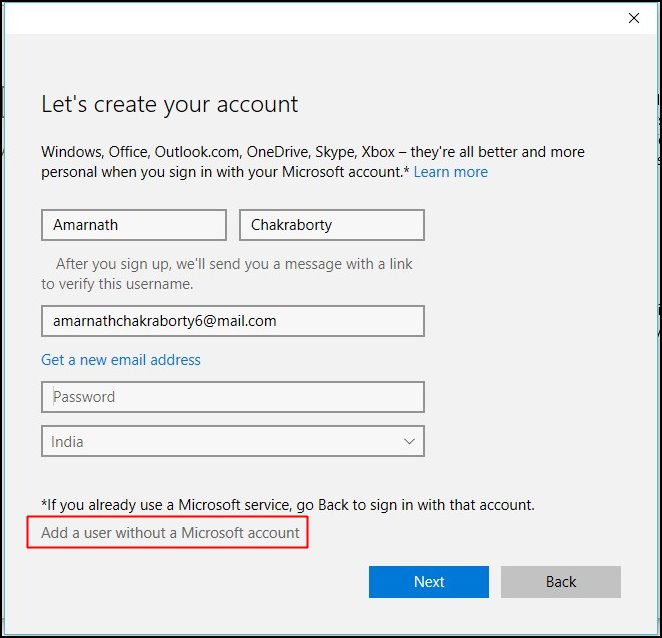
Step 6. Now on the next page, there is no need to fill out lots of fields just click on the option Add a user without a Microsoft account.
Step 7. Now you just need to enter the name and then the password for that guest account.
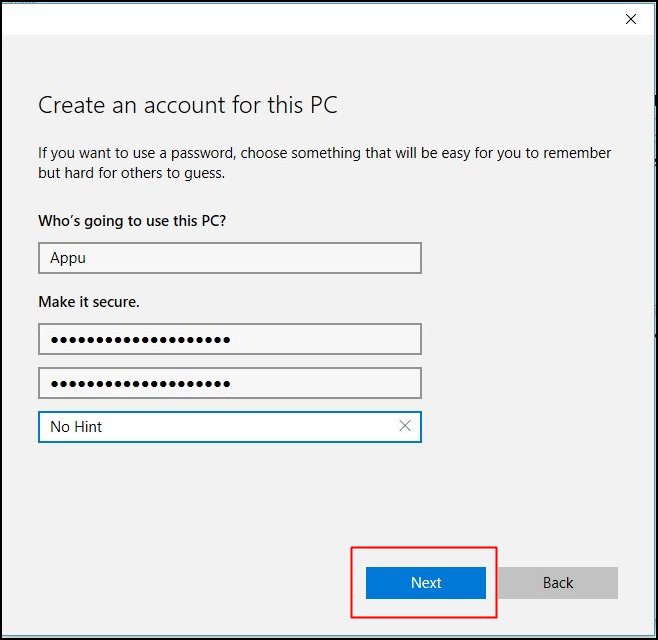
That’s it! You are done. Now the guest account is successfully created. You can now sign into the new user account.
Using Lusrmgr.msc
If for any reason you are unable to create a guest account by following the above method, then follow this one. In this method, we are going to use the Local Users and Groups policy editor. So, let’s check out how to use the Local Users and Groups Policy editor to create a guest account.
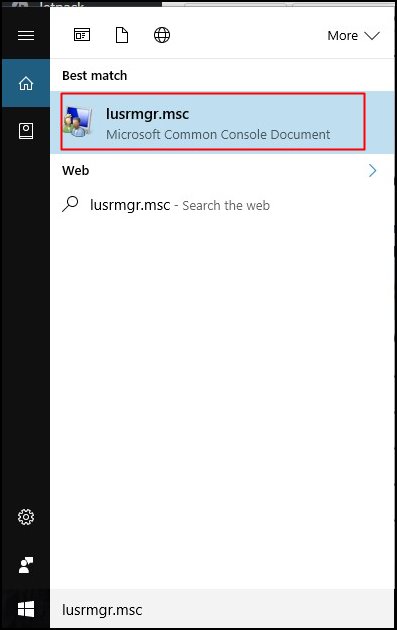
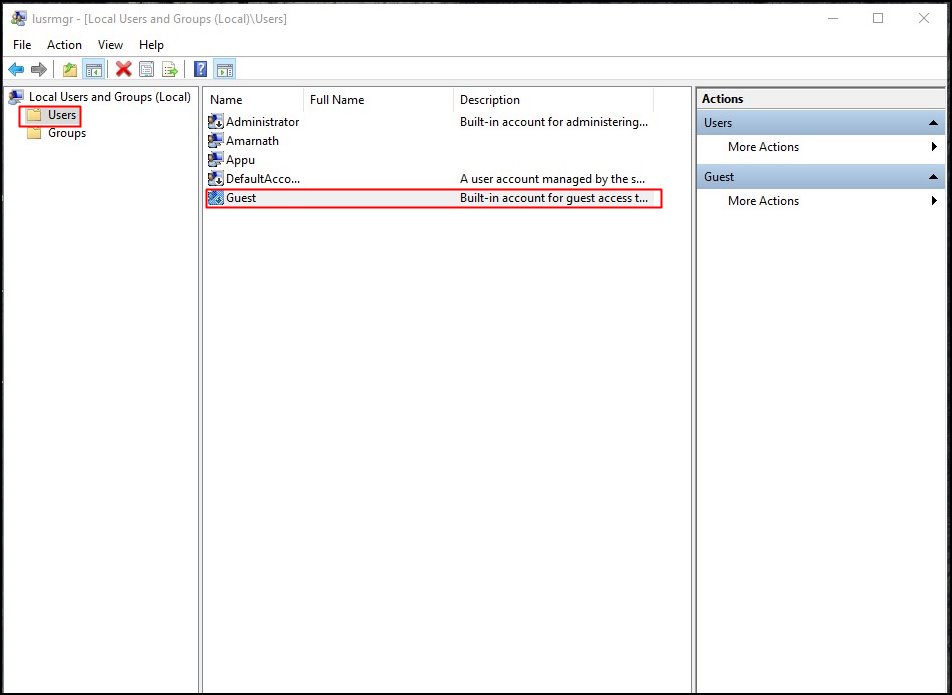
Step 1. First of all, click on start and then type lusrmgr.msc and then press enter.
Step 2. Now click on Users and then click on the guest on the right side.
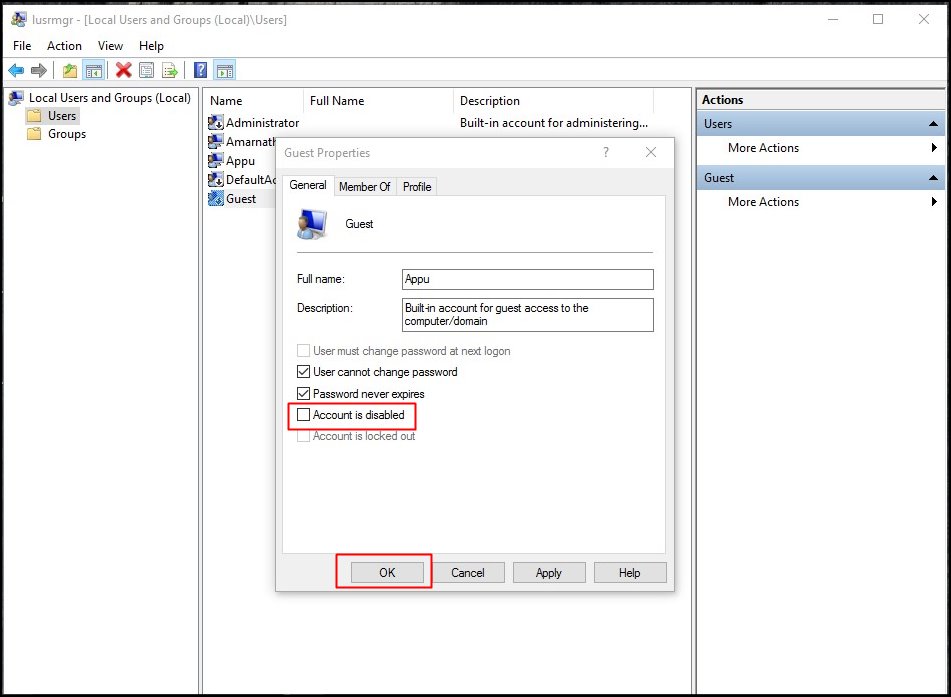
Step 3. Now type the guest account name and then untick on the option Account is Disabled and that’s it you are done, an account is activated in your windows 10.
That’s it! You are done. This is how you can use Local Users and group editor to create a Guest account in Windows 10.
Create a Guest Account Using CMD
Well, we all know that “Guest” is a reserved name on Windows 10 and you can’t create multiple account names with Guest. Therefore, in this method, we are using the Visitor as the name of the account.
Step 1. First of all, click on the Start menu and search “Command Prompt” right-click on it and select “Run as administrator”
Step 2. Now from there, you need to type in the following command. Here you need to enter net user Visitor /add /active:yes and press the Enter button.
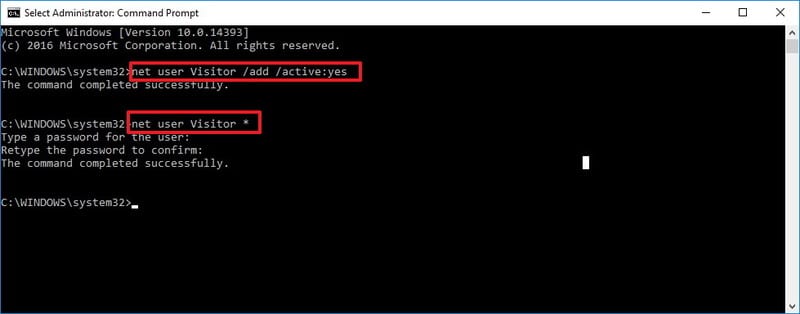
Step 3. Now you need to type in the following command net user Visitor *. If you don’t need the password, then press the Enter button twice.
Step 4. In the next step, you need to remove the new user account from the default user group and add the newly created account to the Guest user group. For that enter the following commands one by one.
net localgroup users Visitor /delete
net localgroup users Visitor /add

That’s it, you are done! Now you can sign out of your current account and in the sign-in screen, select the Visitor account.
So, this is how you can create a Guest account in Windows 10. I hope this article helped you! Please share it with your friends also. If you have any doubts related to this, let us know in the comment box below.

")
")