
The media access control address (MAC address) is a unique identifier assigned to network interfaces for communications on the physical network segment. MAC addresses are used as a network address for most IEEE 802 network technologies, including Ethernet and WiFi. This is used to track the device uploading or downloading over the internet. So for private or anonymous browsing, not only IP addresses should be hidden, but MAC addresses must also be hidden.
You can change your Media Access Control access to make your Android activities private over the WiFi or other wireless networks in an Android device. Just follow the below post to proceed.
Why would you change your Mac Address?
Well, this is one question that would come to your mind as there’s a golden rule that if something isn’t broken, why would you try to fix it? Similarly, if there’s no need to change the MAC address, why would one want to change.
Let me answer this question in detail. Look, privacy is important nowadays, and through the MAC address, one can easily track your device. This is why users often want to change their MAC address after purchasing a smartphone.
If you connect to the Public WiFi network more often, it becomes important to change the MAC address at regular intervals. There are actually plenty of reasons behind changing the MAC address, but out of all those, privacy is the most important one.
Steps To Change the MAC Address Of your Android Device
Changing the MAC Address of your smartphone is easy as long as you have a rooted Android device. It’s possible to change the MAC address of a non-rooted device, but there’s no guarantee on whether the method will work or not. Below, we have shared the two best methods to change the MAC Address of your Android smartphone.
Check The MAC address Of Your Android Device:
You need to check out your MAC Address first on your Android device. For that, you have to tap on Menu > Settings > About device > MAC Address.
This method requires a rooted Android smartphone to work as you need to run BusyBox and Terminal on an Android smartphone. If you have a rooted device, follow some of the simple steps given below.
Step 1. First of all, you need to root your Android device; if you have not rooted your Android yet, you can head to the complete rooting process here.

Step 2. Now in your Android, download and install the app BusyBox.
Step 3. Now after installing Busybox, install the Terminal in your Android.
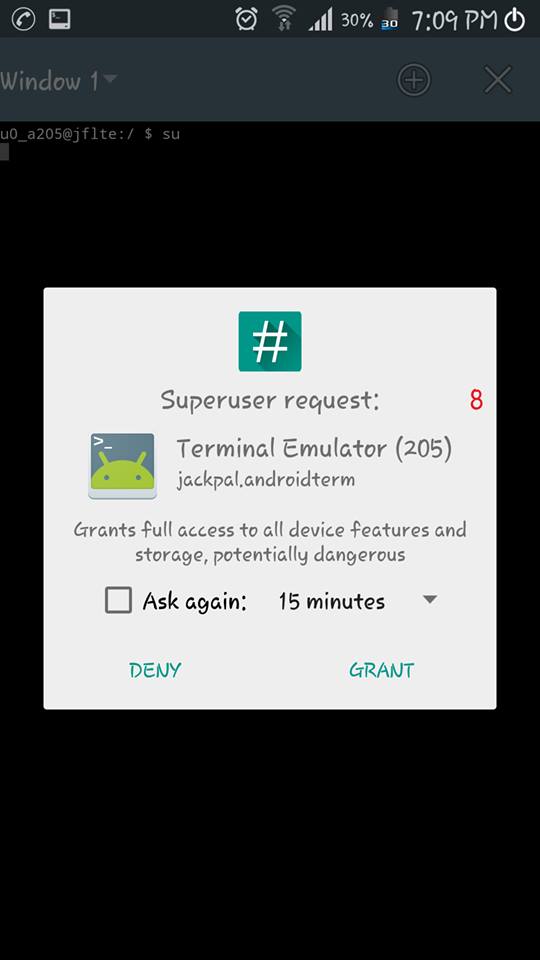
Step 4. Now open the terminal and type su, and press enter. It will ask you for superuser access to grant it if you want to see your current MAC address, type “busy box iplink show eth0″ and press enter.
Step 5. Now type “busybox ifconfig eth0 hw ether XX:XX:XX:XX:XX: XX” (without quotation marks)
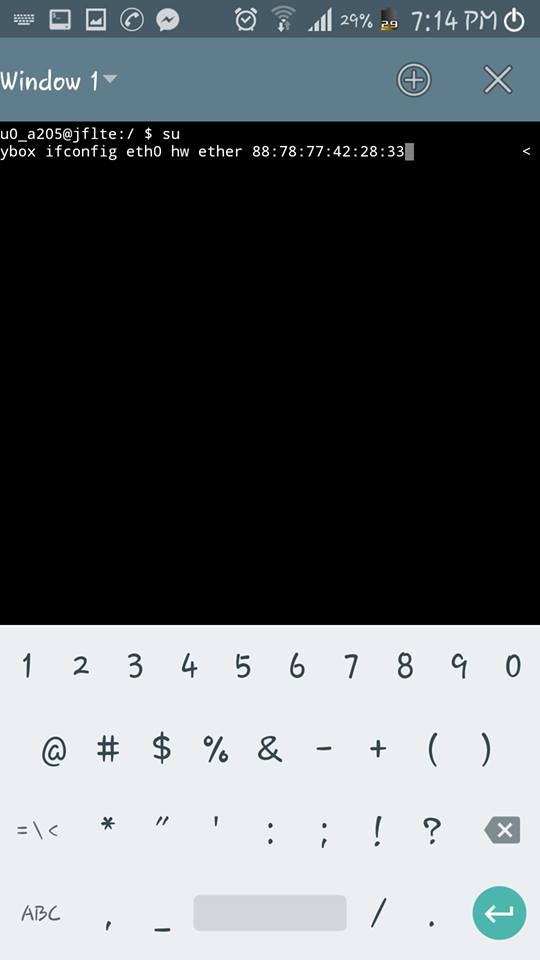
It would be best if you replaced XX:XX:XX:XX:XX: XX with your new MAC address; you can write any alternative MAC address that you want to assign to your device.
That’s it! You are done; you have successfully changed your Android MAC address. You can check your new MAC Address by just typing ” busy box link show eth0 ” in Terminal.
2. Using ES File Explorer
Well, ES File Explorer is removed from the Google Play Store for several reasons. However, you can download the file explorer from third-party sources to change the MAC address of your Android. This method works on non-rooted Android smartphones also. Let’s check out how to change Mac Address using ES File Explorer 2019.
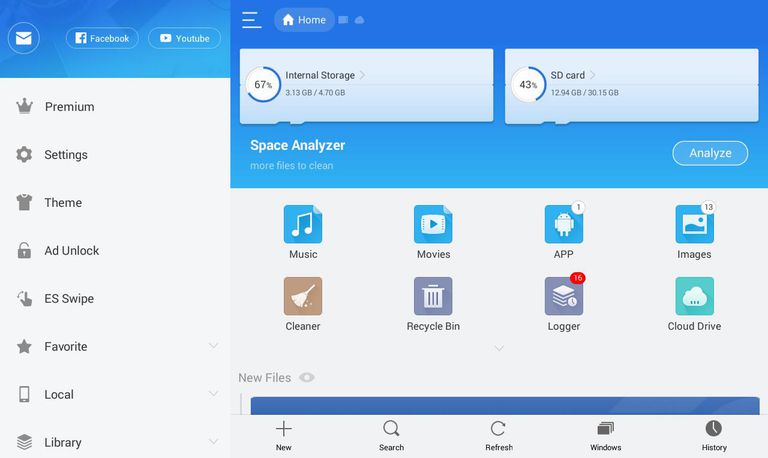
Step 1. First of all, you need to root your Android device. Then download and install ES file explorer on your Android smartphone.
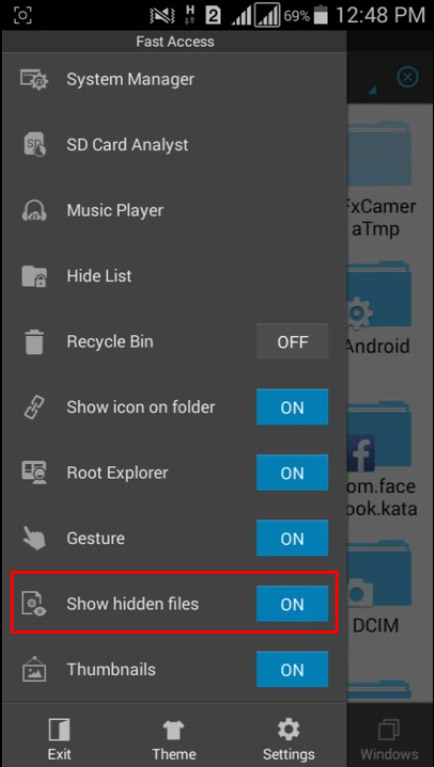
Step 2. Now open the ES File Explorer and then enable the option “Show Hidden Files” from the settings panel.
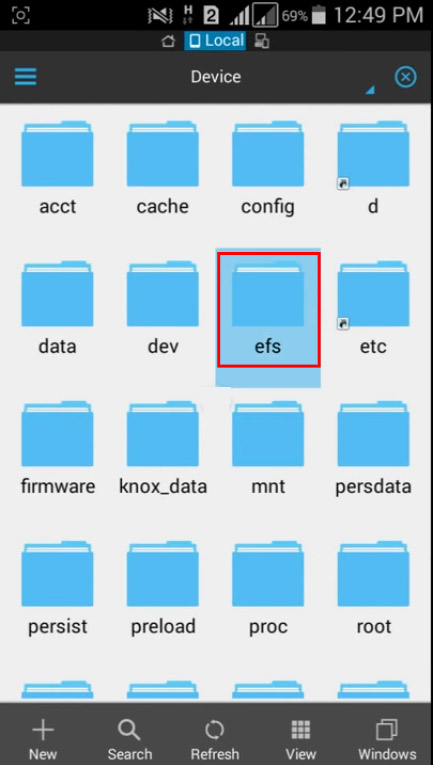
Step 3. Now you need to browse the folder named “EFS.”
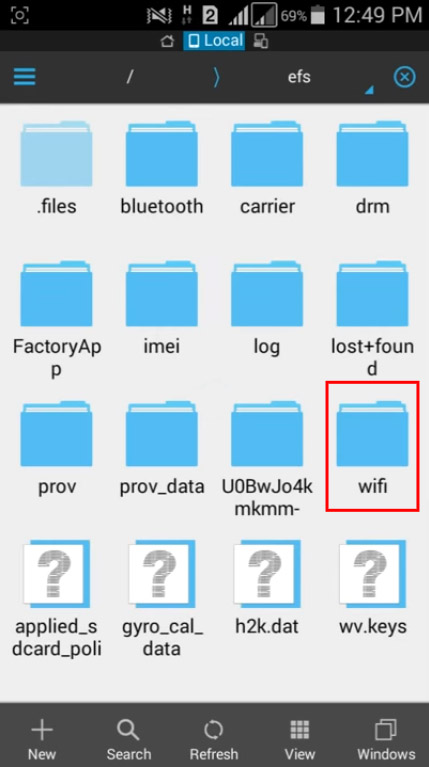
Step 4. Now you need to find and open the folder called “WiFi.”
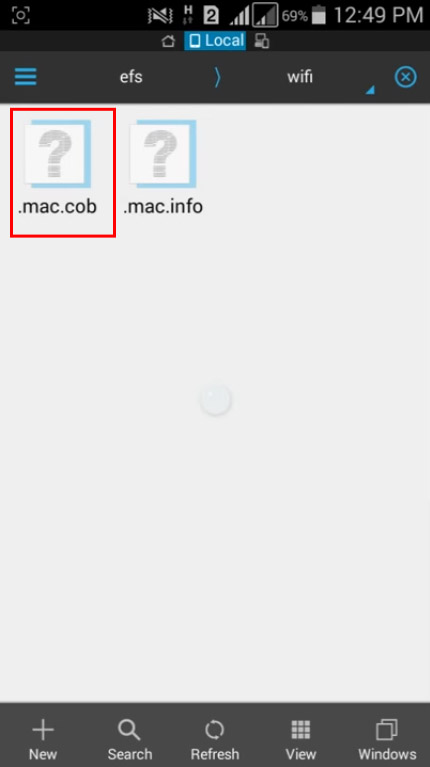
Step 5. Now you will see two folders named “mac. cob” and “mac.info.” Now you need to open the “mac. cob” folder using the text editor.
Step 6. Now you will get to see your mac address; you can edit and, after editing, save it.
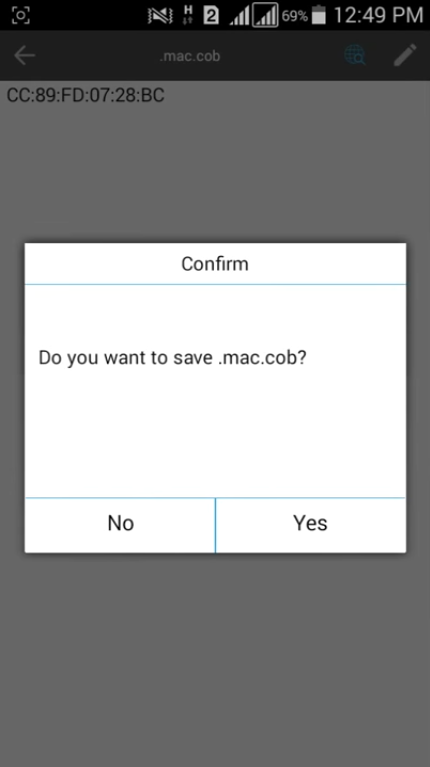
That’s it! You are done. You will now be using the new MAC address.
3. Using Change My MAC Android App
Well, Change My MAC is another best app available on the Google Play Store that lets you change the MAC Address. However, the app requires a rooted device to run. Follow some of the simple steps given below to use the Change My MAC Android app.
Step 1. First of all, download & install Change My MAC on your Android.
Step 2. Open the app and grant the superuser permissions.
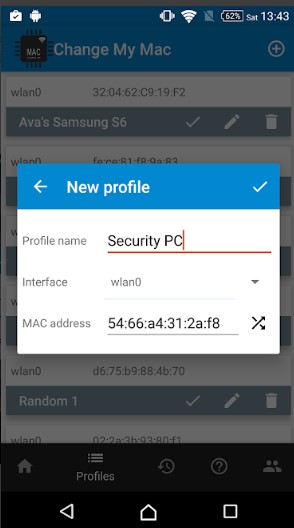
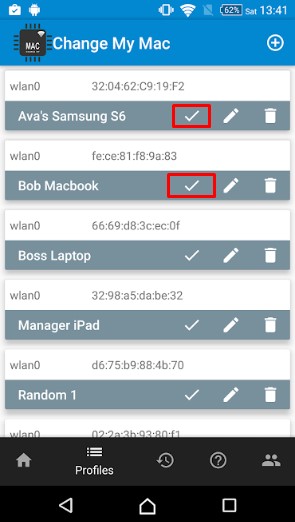
Step 3. Now you need to create a new profile. Enter the name, interface type, and MAC Address.
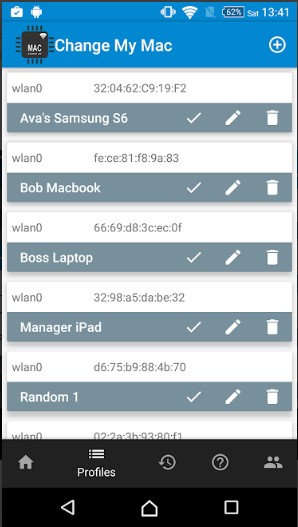
Step 4. You can create multiple profiles via Change My MAC.
Step 5. You can even edit the existing profiles. To do that, click on the ‘Edit’ icon.
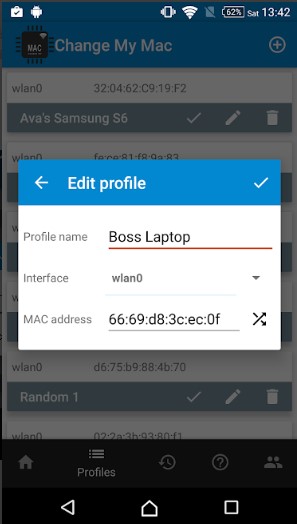
Step 6. To set the MAC Address, tap on the ‘Tick’ button.
That’s it! You are done. This is how you can use Change My MAC to change your MAC address.
I hope this article helped you! Please share it with your friends also. If you doubt this, let us know in the comment box below.


