
Until now, we have discussed lots of tips and tricks on Android. Today, we will discuss creating a local web server on an Android device.
You can debug your apps and scripts and see the web pages you code and the things you want to test before putting them online.
Steps to Set Up a Local Web Server on Your Android
Therefore, you need a local server to test your codes. You must follow the complete guide below to set up this local server on your Android.
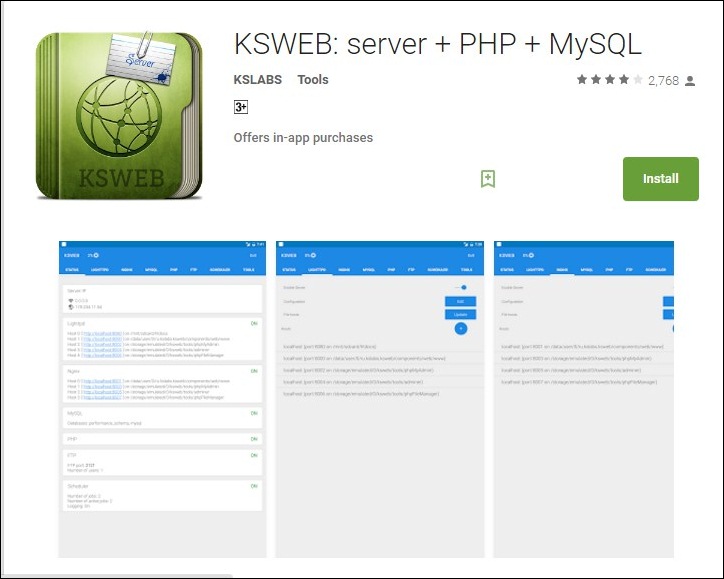
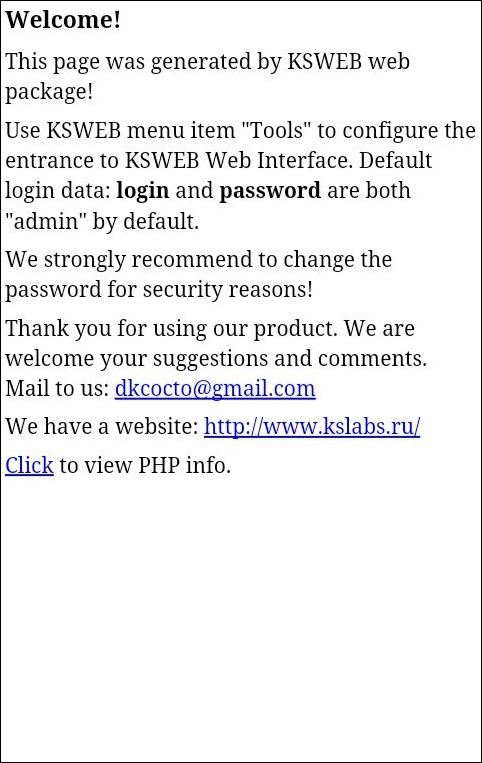
1. First, download and install a cool android app that is KSWEB: server + PHP + MySQL on your device. Now move to the address localhost:8080 in your android browser, where you will see the default page of KSWEB.
2. Now visit the URL 127.0.0.1:8001, which is your admin page. Its default username is root, and the password is also root. After entering the admin panel, change your username and password for security reasons.
3. Now, after setting up different usernames and passwords for your local server, you are done with setup local machine control, and now time to set up phpMyAdmin.
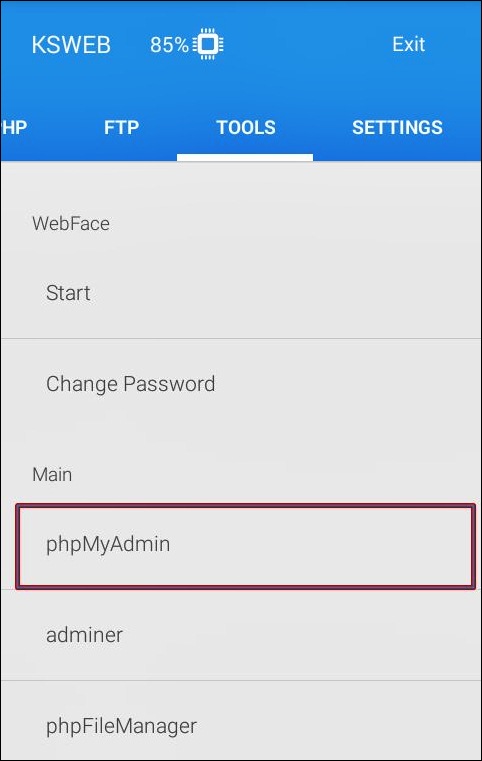
4. Now, move ahead to the KSWEB app. In the tools tab, install phpMyAdmin and download it, which will be around 7MB.

5. Now, you can navigate to phpMyAdmin at the address 127.0.0.1:8000. Your default username of this admin panel is root, and leave the password field blank and log in.
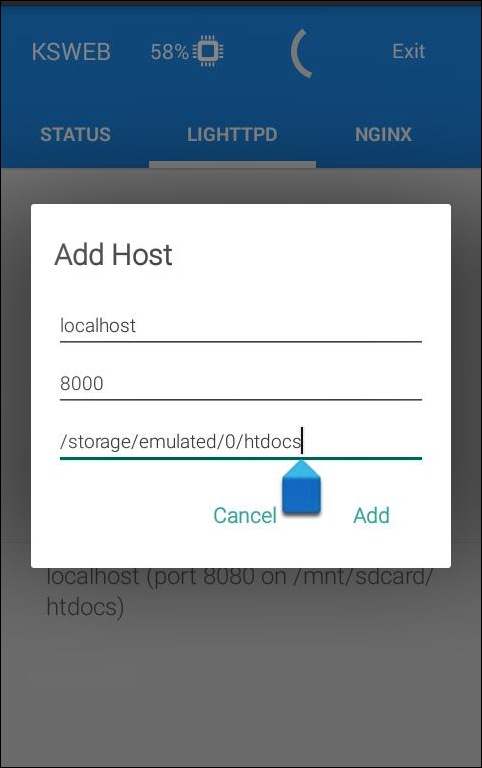
6. Now, if you want to change the default path of the root folder, you can do it from Lighttpd.
That’s it! You are done. Your local web server is ready to run your sites, apps, and many scripts you wish to test before taking them online.
So, this article is all about how to set up a local web server on Android. If you need more help on this topic, let us know in the comments below. Also, if the article helped you, share it with your friends.


")