
If you are using Windows operating system, you may have often seen TrustedInstaller in the Task Manager. You may even see Windows Modules Installer on the Task Manager.
Have you ever wondered what TrustedInstaller is and what it does? Well, it’s a user account used by the Windows Modules Installer service for installing, modifying, and removing Windows update files.
It also has a lot to do with the Windows components. However, since the TrustedInstaller user account holds your system files, you cannot delete a file or folder. To delete those files, you must restore the TrustedInstaller Ownership to the system files.
Steps to Restore TrustedInstaller Ownership to System Files
Without the ownership, you can modify the files even if you’re using an Administrator account. Below are the steps that will let you restore TrustedInstaller Ownership to system files. Let’s check out.
1. First, open File Explorer and browse the system file you previously changed ownership of.
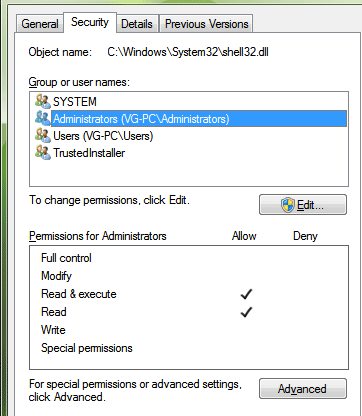
2. Right-click the file and select Properties. Click on Security and then select ‘Advanced’
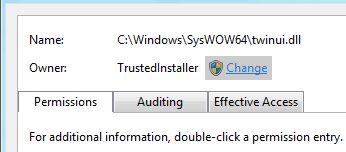
3. On the “Advanced Security Settings” page, click the Edit button at the bottom left corner. Next, click on the Change link beside the Owner.
4. On the “Select User or Group” page, type the following to add the TrustedInstaller account NT Service\TrustedInstaller and click Check Names.
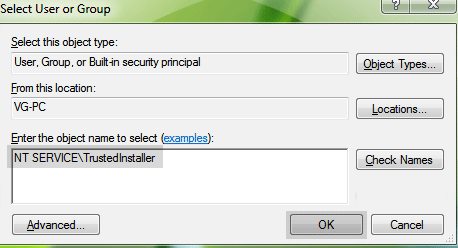
5. Click on the Ok button to apply the changes.
So, these are some simple steps that let you restore TrustedInstaller Ownership to system files. If you need more help restoring the TrustedInstaller Ownership, let us know in the comments below. Also, if the article helped you, make sure to share it with your friends as well.


