")
If you have been using Android for a while, you might know that the mobile operating system offers many customization options. However, there’s one thing that Android lacks – Font customization.
Unless you are using a rooted device, you can’t directly change fonts on Android. The font changing option is on the latest Android version, but many users still use older Android versions like Android KitKat, Lollipop, etc.
So, if you are running an older version of Android and want to change fonts on your device, you are reading the right article.
How To Change Fonts On Android
Please note that we will use Launcher apps to change fonts on Android, and launcher apps change the overall skin of your Android. So, let’s check out the methods.
1. Change Fonts on Android Smartphone
Modern smartphones or the latest version of Android provide you with a direct option to change the fonts. You can use the built-in customization settings of your phone to change the system-wide fonts. Here’s how to change fonts on Android.
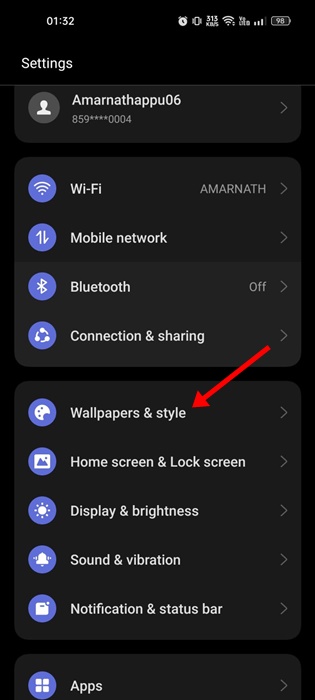
1. Open the Settings app on your Android device.

2. Now tap on the Wallpapers & Style.
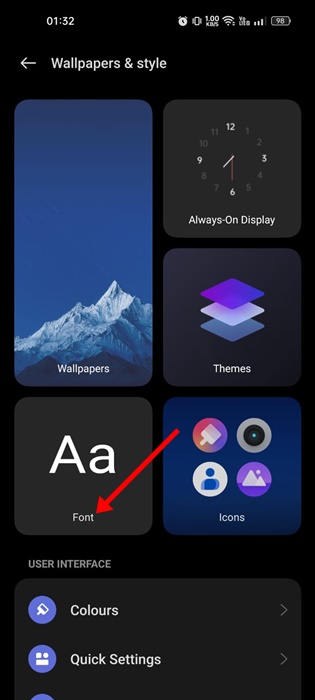
3. On the Wallpapers & Style, tap on the Font.
4. On the Font screen, select the font of your choice, adjust its size & weight, adaptive font-weight, and click the Apply button.
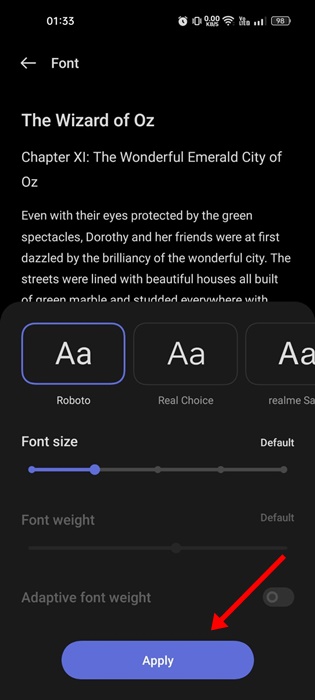
That’s it! This is how you can change fonts on the latest version of Android.
Important: The steps may vary depending on the smartphone you are using. If your phone supports font changing, you are likely to find it on your phone’s Customization or Personalization settings.
2. Using Apex Launcher
Apex Launcher is one of the best and top-rated Android launcher apps on the Google Play Store. Guess what? With Apex Launcher, you can customize almost every corner of your Android device. Here’s how to use Apex Launcher to change Fonts on Android without root.
1. First of all, download & install Apex Launcher on your Android smartphone. You can get the app from third-party app stores.
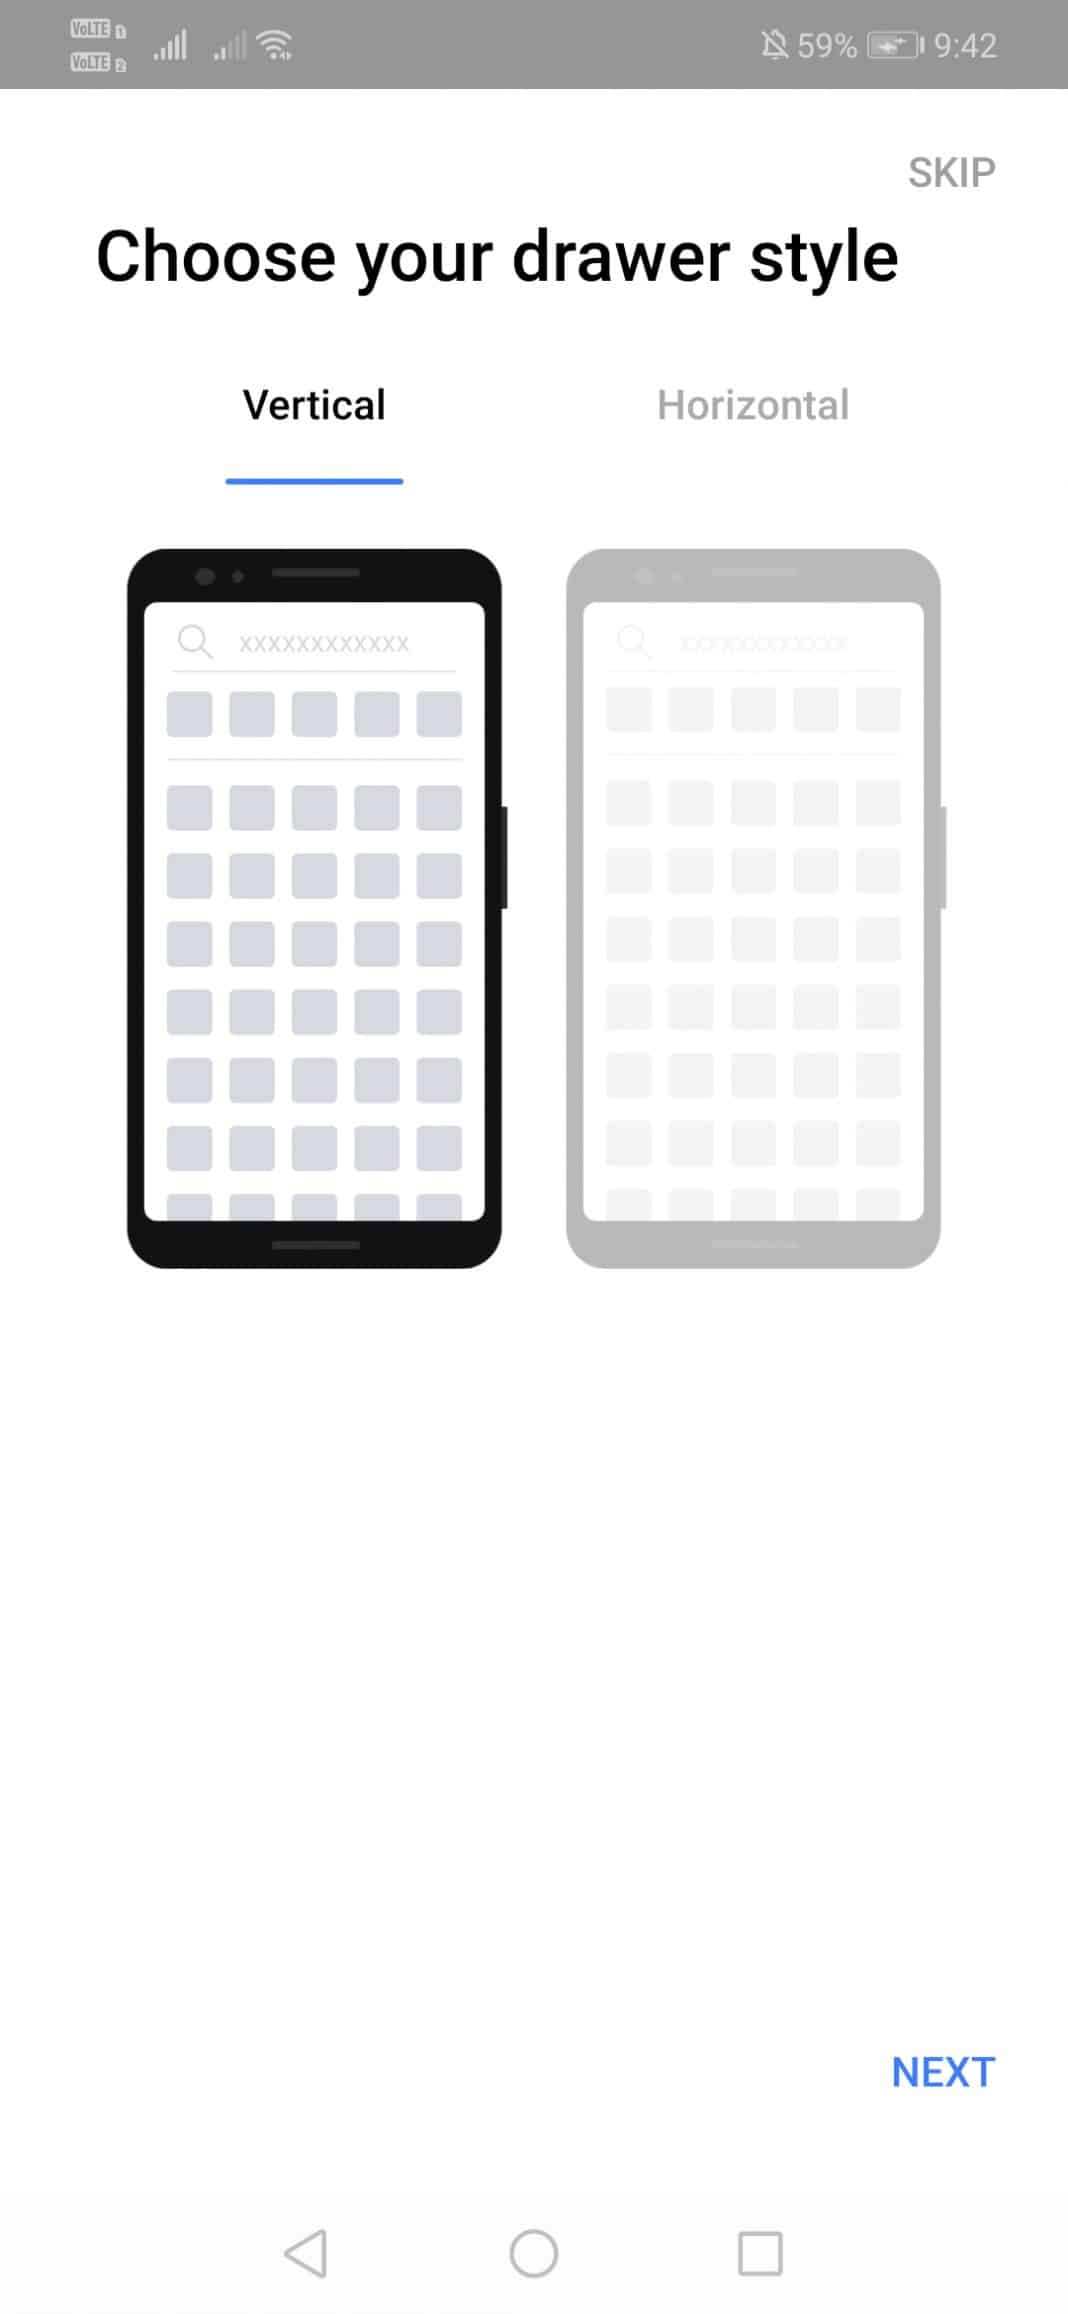
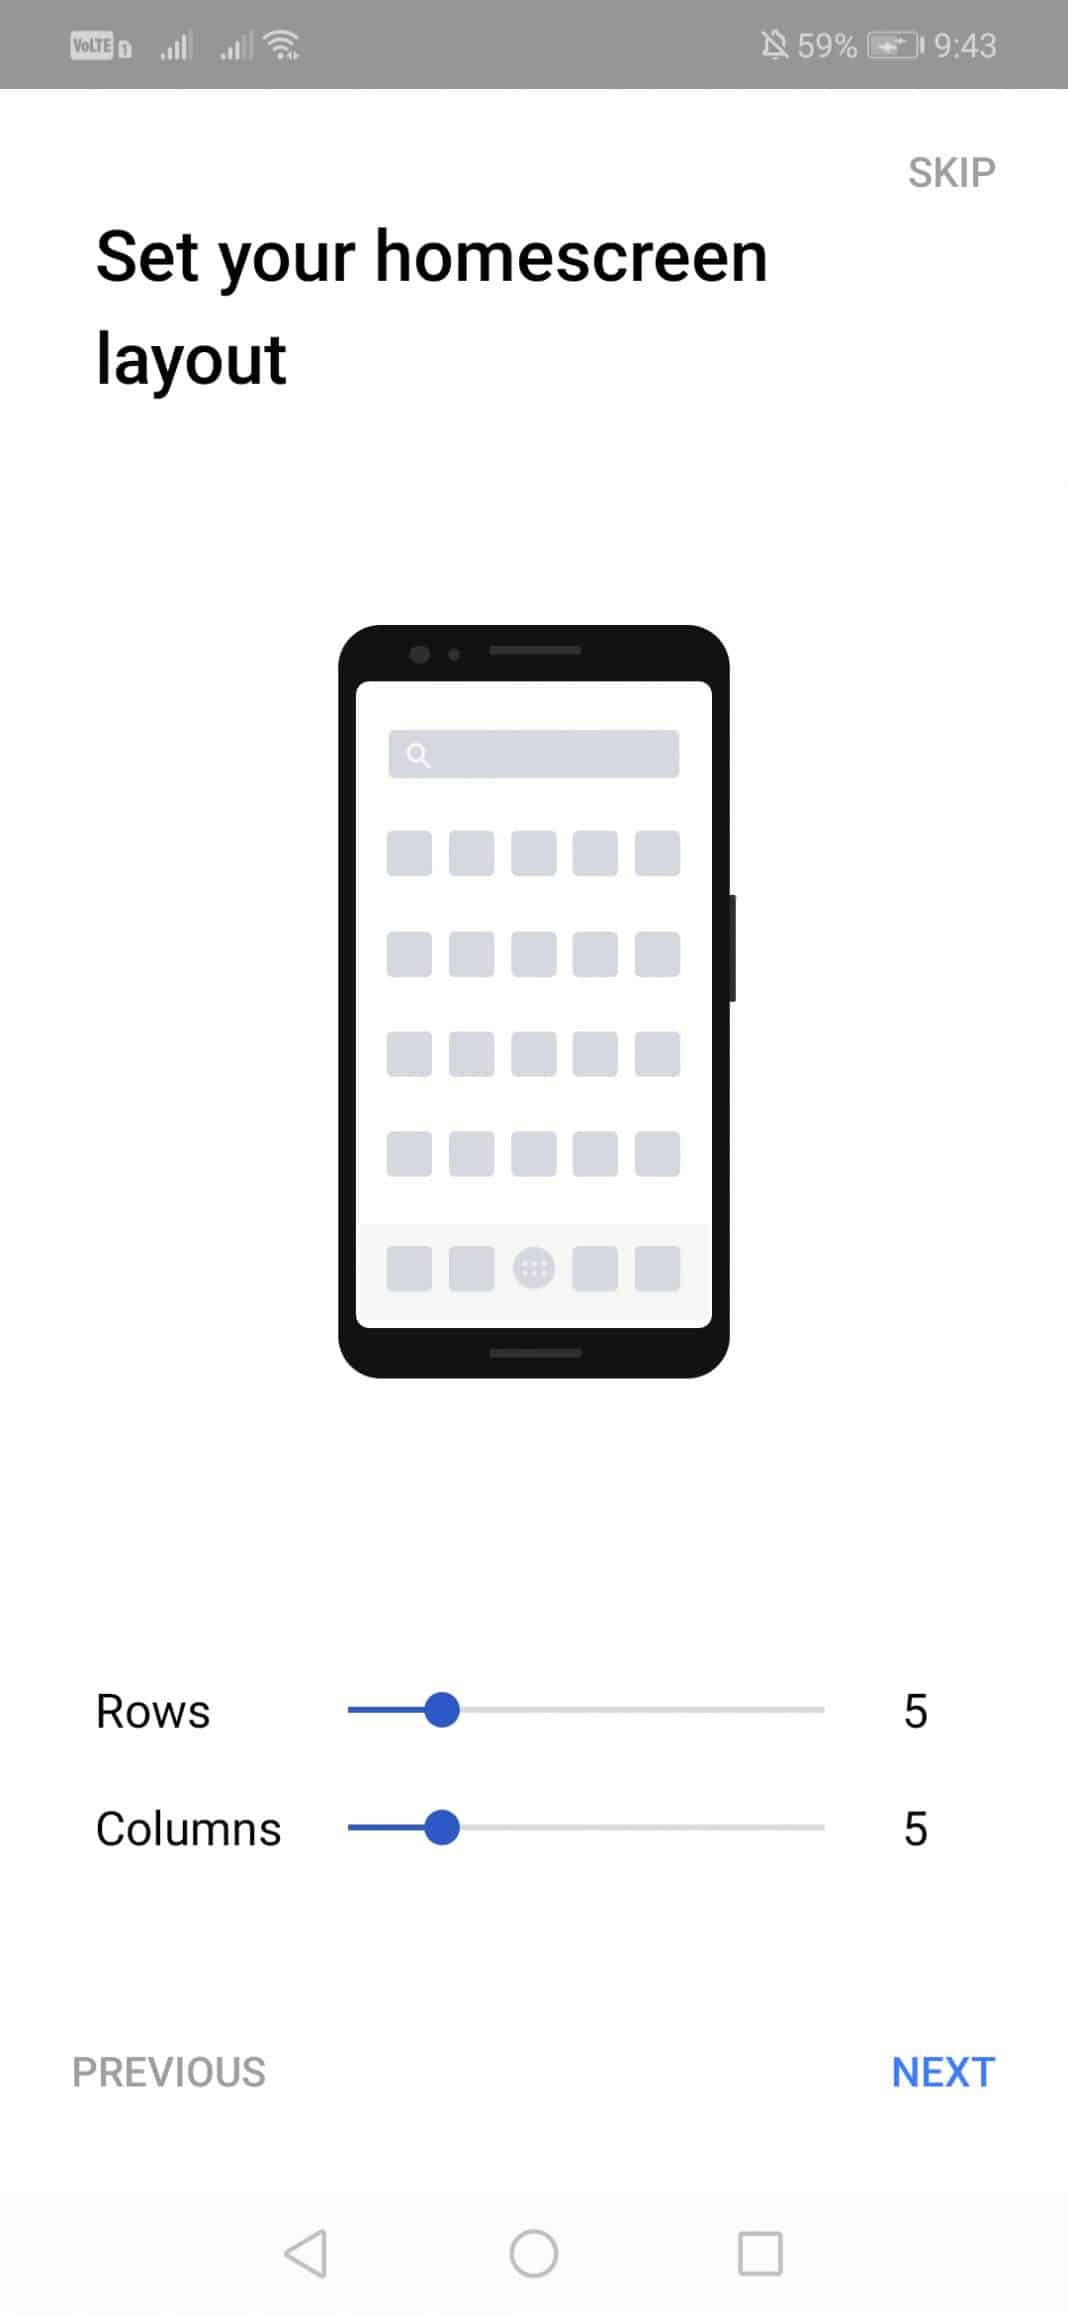
2. Once installed, open the launcher app and choose the drawer style.
3. In the next step, you will be asked to select the Rows and Columns. Select as per your requirement.
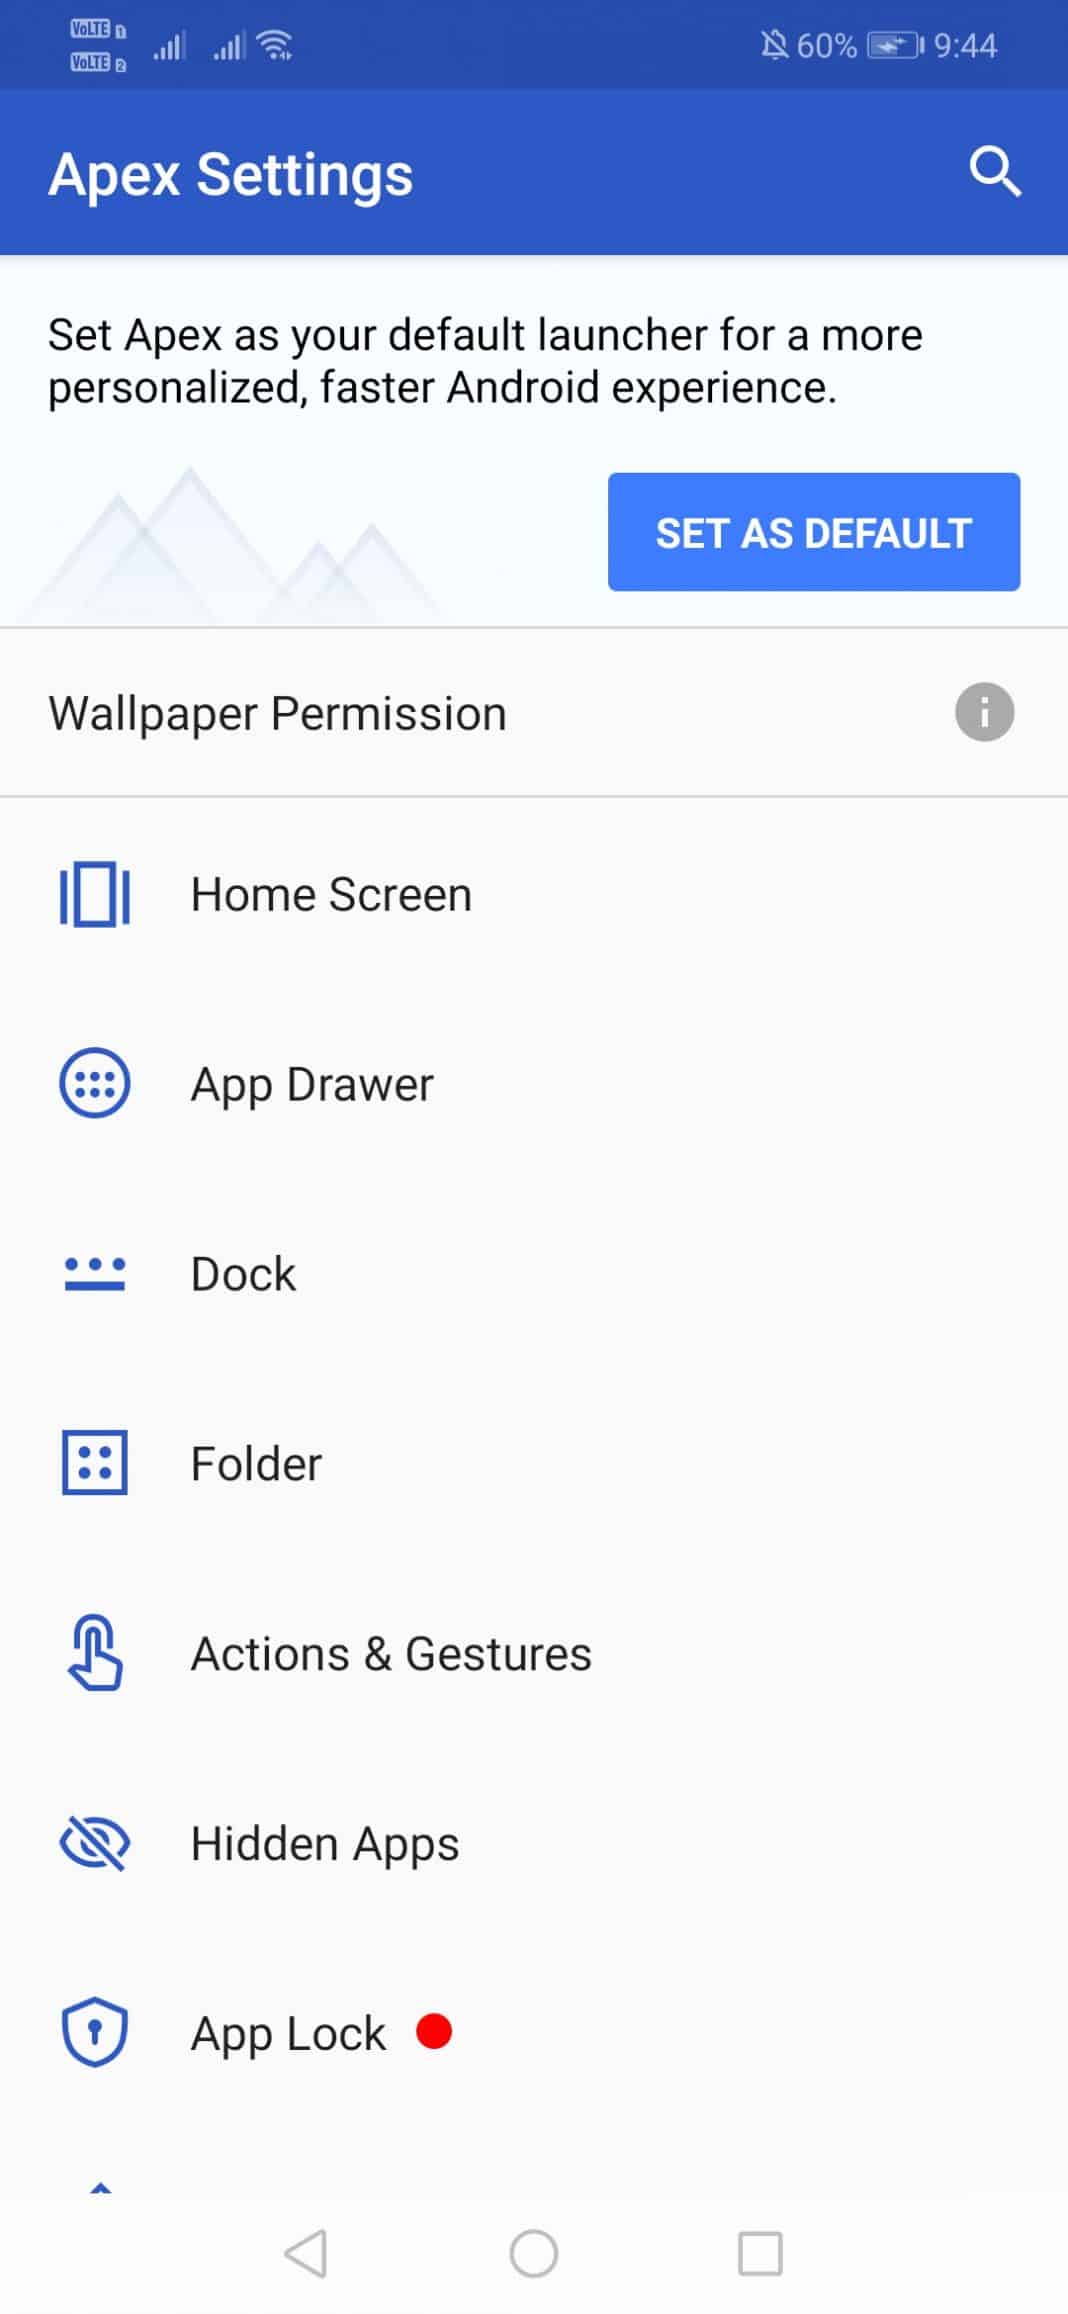
4. Now open Apex Settings from the home screen.
5. Now tap on the ‘Home Screen.’
6. Under the Home Screen menu, select ‘Layout & Style.’
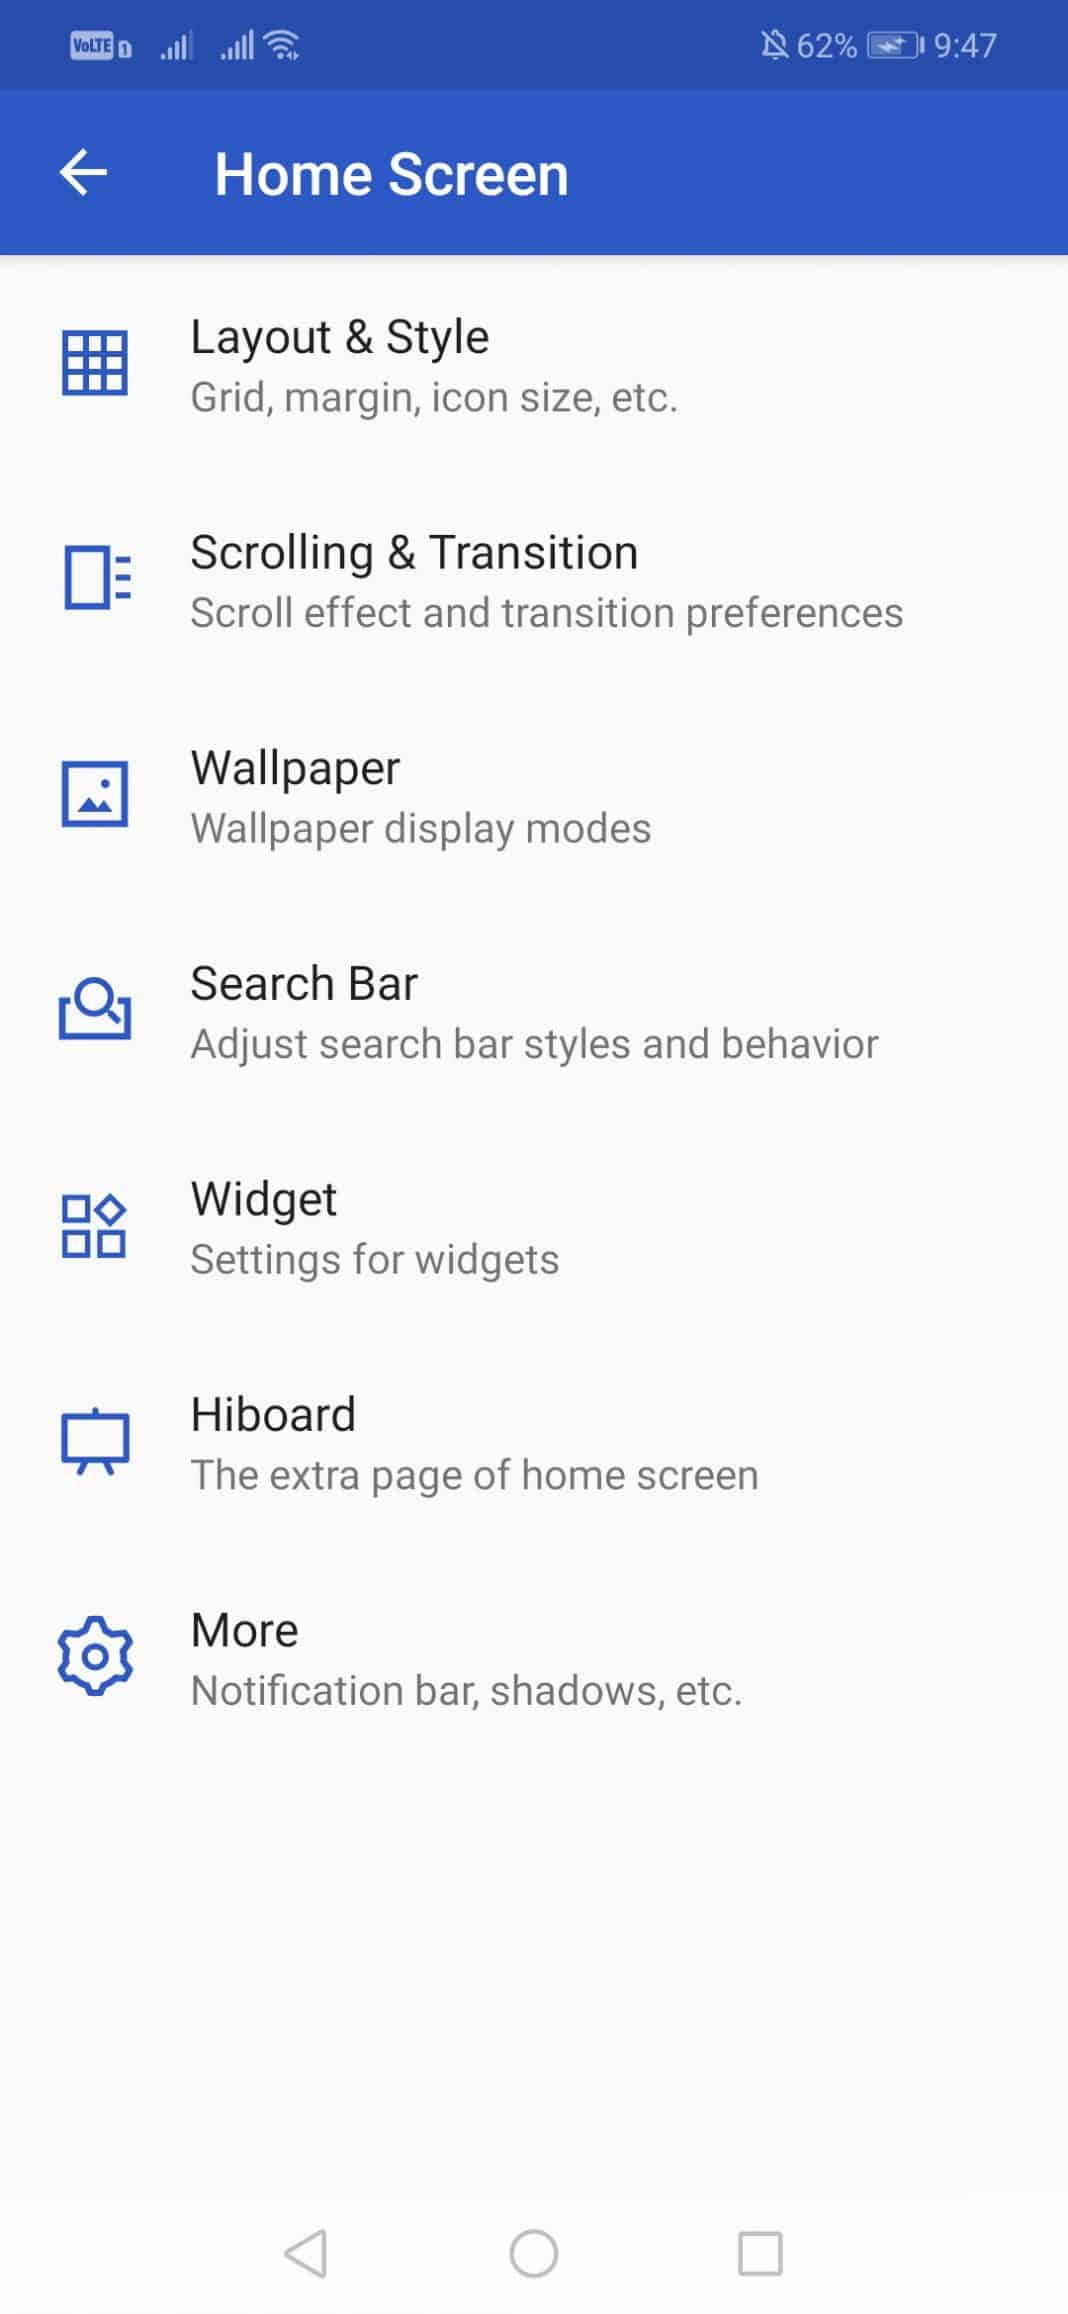
7. Scroll down and tap on the Label Font. Select the font as per your wish.
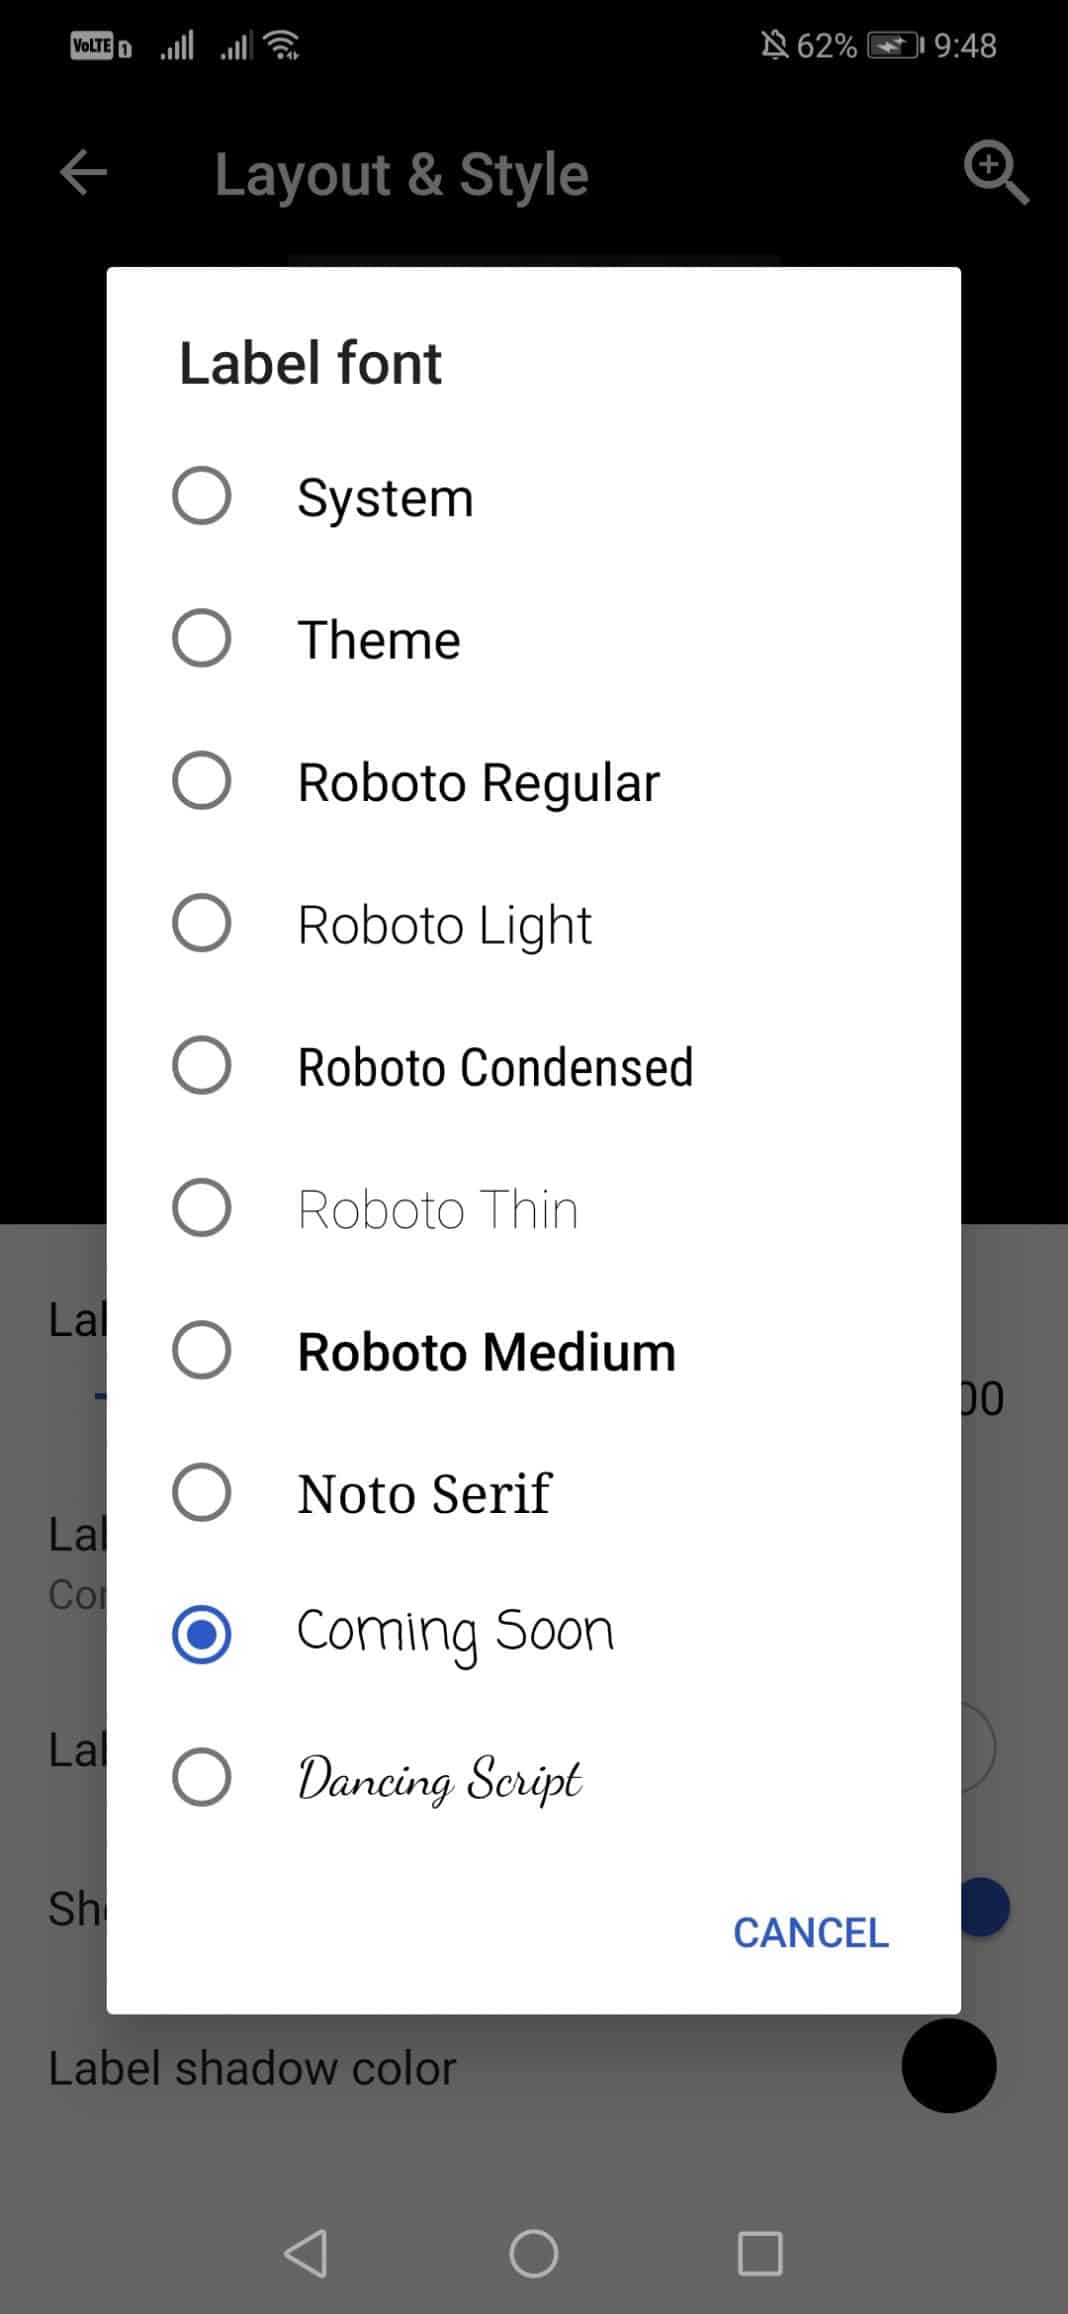
8. Now press the home button, and you will see the new font.
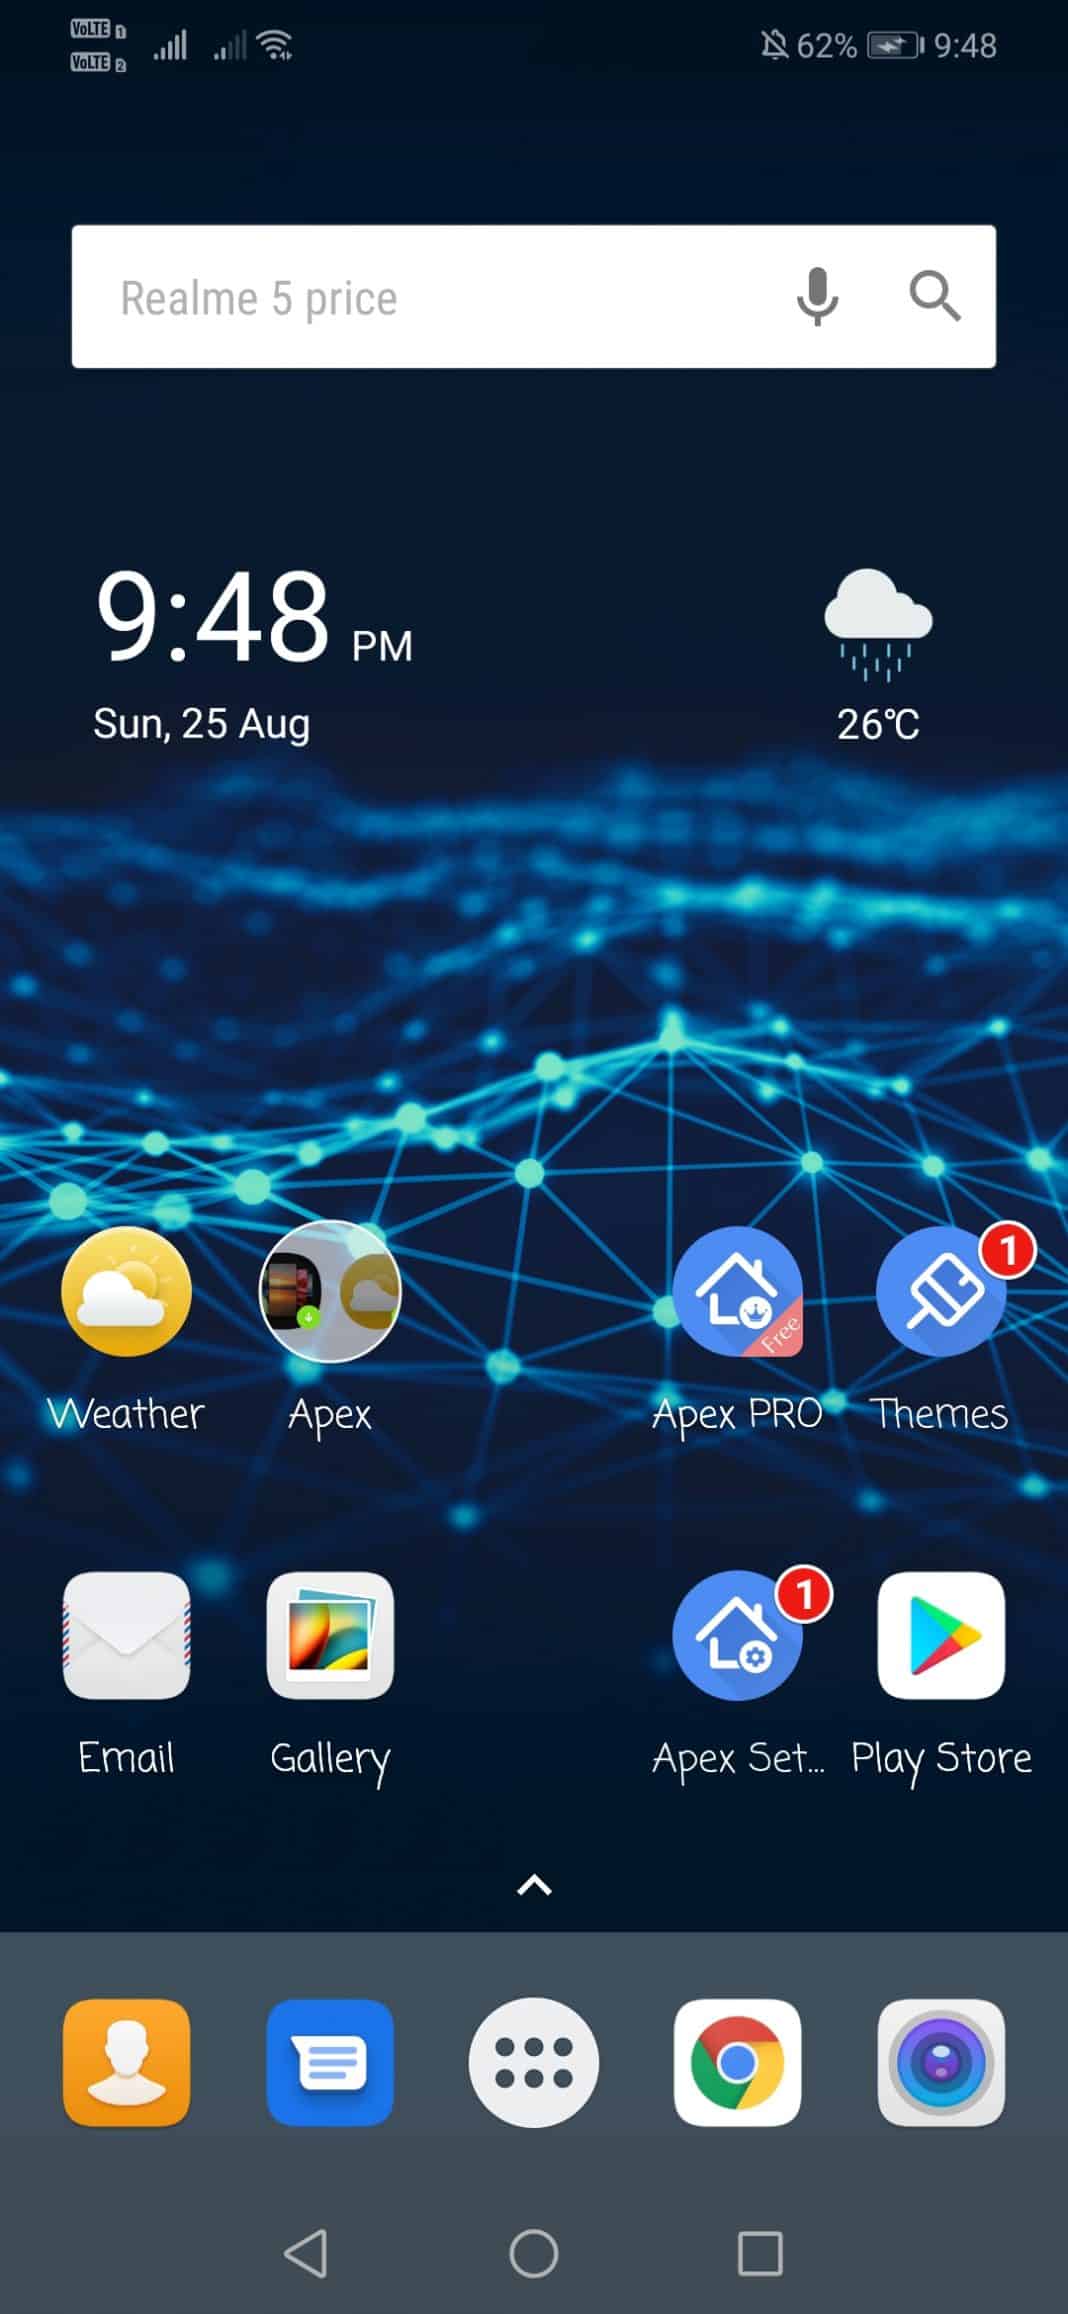
That’s it; you are done! This is how you can change fonts on Android by using Apex Launcher.
3. Change Fonts on Android (For Rooted Devices)
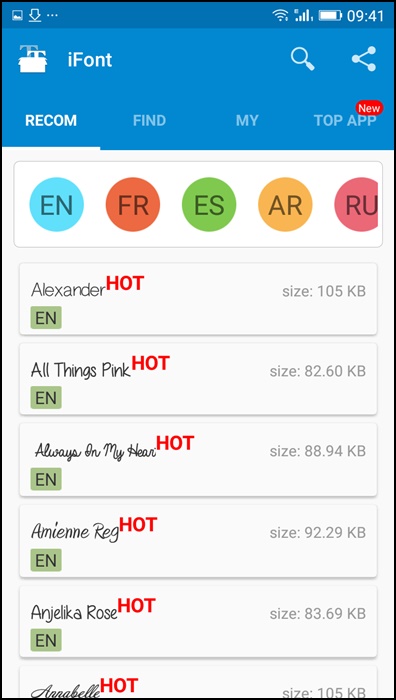
If you have a rooted Android device, changing the system font using the iFont App is easy. Check it out below and follow the steps.
1. First of all, you need to root your Android device.

2. Download and install an iFont application.

3. Open the iFont App, and you will get a list of available fonts for your device. Select and install any font on your Android.
4. Now select any one of them and click on Set.
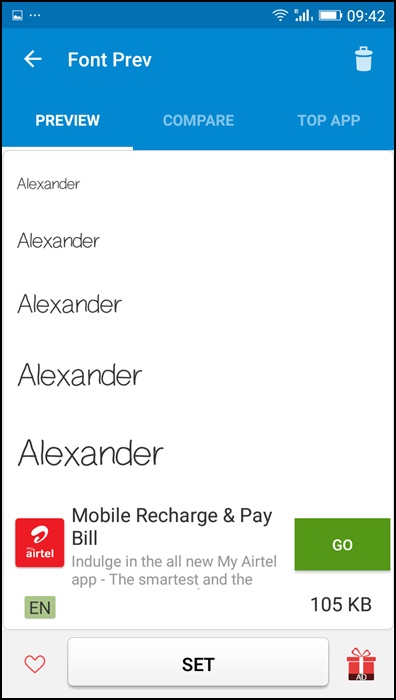
5. After clicking on the set, iFont application grants Superuser permission, then click Allow permission. Now, your device starts to reboot, and after that, the font style successfully changes. Enjoy !!
Note: If you have your own TTF font file, copy it and paste it on your SD card, then click on Custom > Select your ‘TTF‘ font file from your SD card.
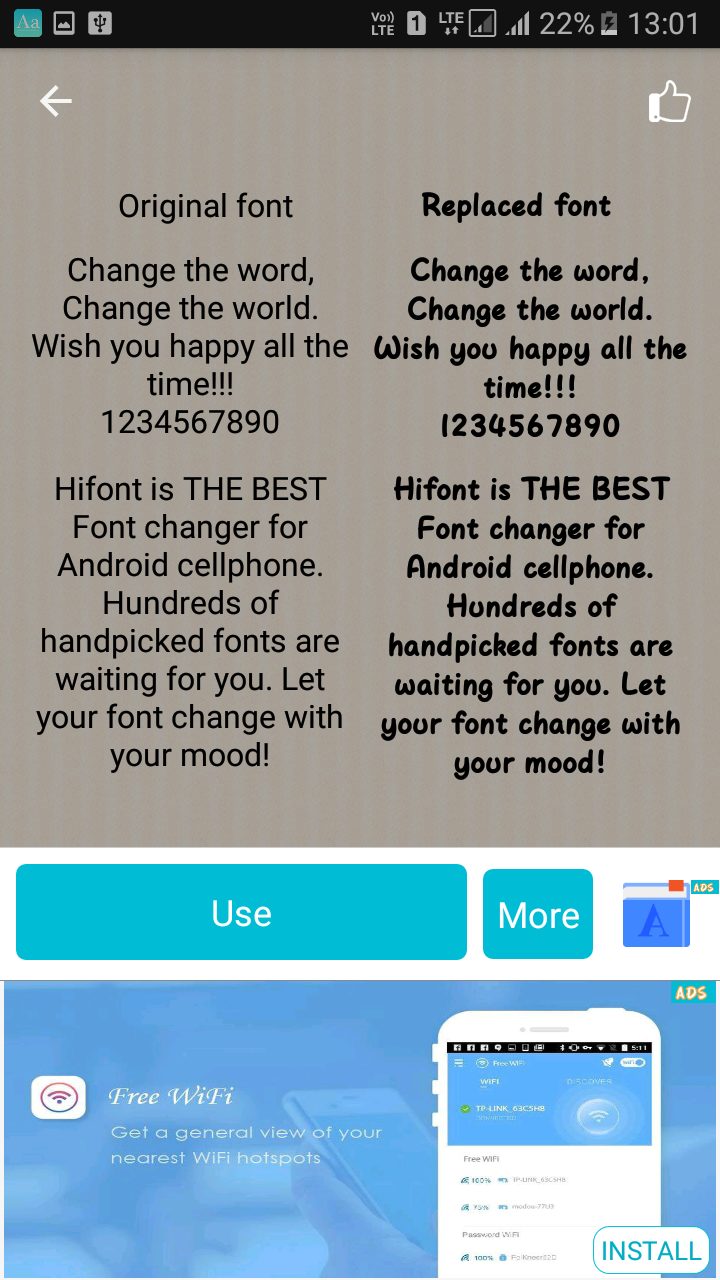
4. Using HiFont
HiFont is the best flip font installer for Android. Hundreds of handpicked written font styles like cute, darker, candy-colored fonts are all for you. It is compatible with the font program on your phone.
1. First of all, download and install HiFont on your Android device. Once installed, open the app.
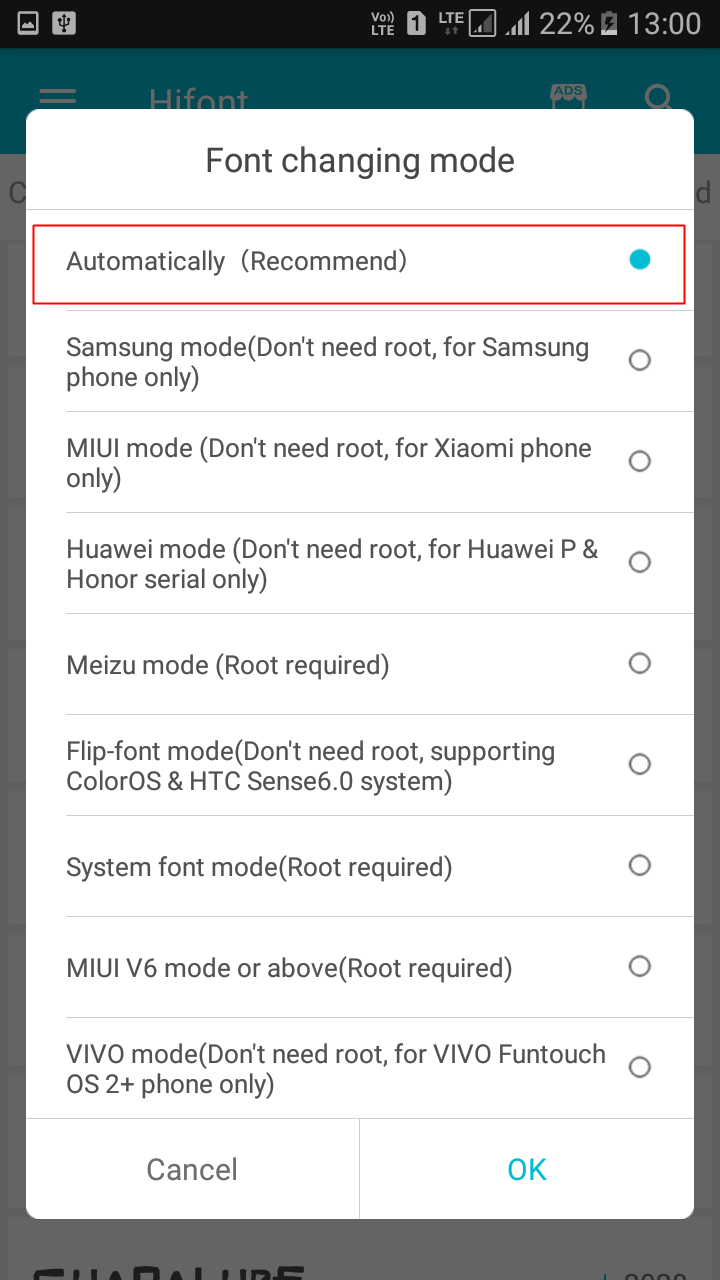
2. Open the settings panel and then change the Font changing mode to Automatically, which is recommended.
3. Now, you must choose the font you want to install on your Android operating system. Choose and hit the Download button.

4. Once downloaded, you need to tap on the Use button.
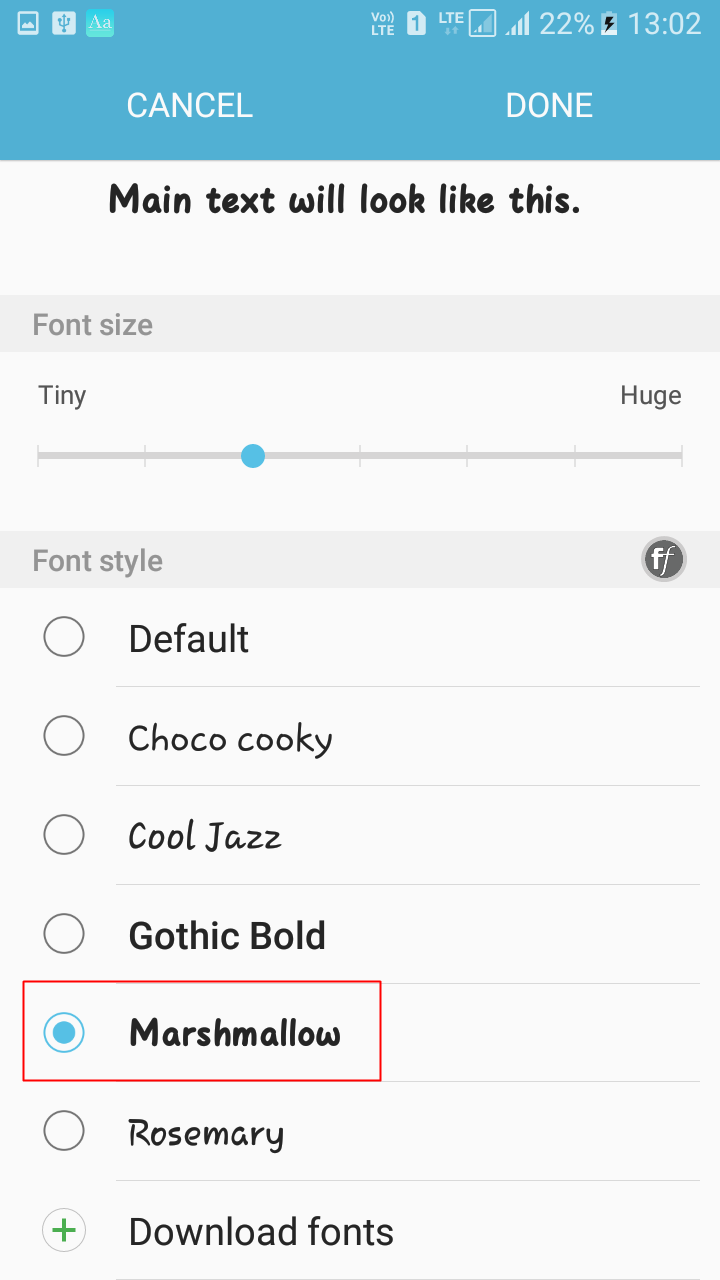
5. Now you must move to your Phone’s Settings> Display> Fonts. Here, you need to select the downloaded font.
That’s it! You are done. This is the easiest way to change your Android font style.
Note: Not all fonts will be supported because some will only install on your device if it’s rooted.
So, these are the best methods to change fonts on an Android phone. I hope this guide helped you! Please share it with your friends also. If you have any doubts, let us know in the comment box below.
")
")

Hey anyone help me to root my micromax unite 2 android
@Saurav
Tell me ?